Adding borders with EXIF in Lightroom Classic
I’m writing this post as I get a few requests about how I do my borders with EXIF embedded in them on my photos I post to Discord.
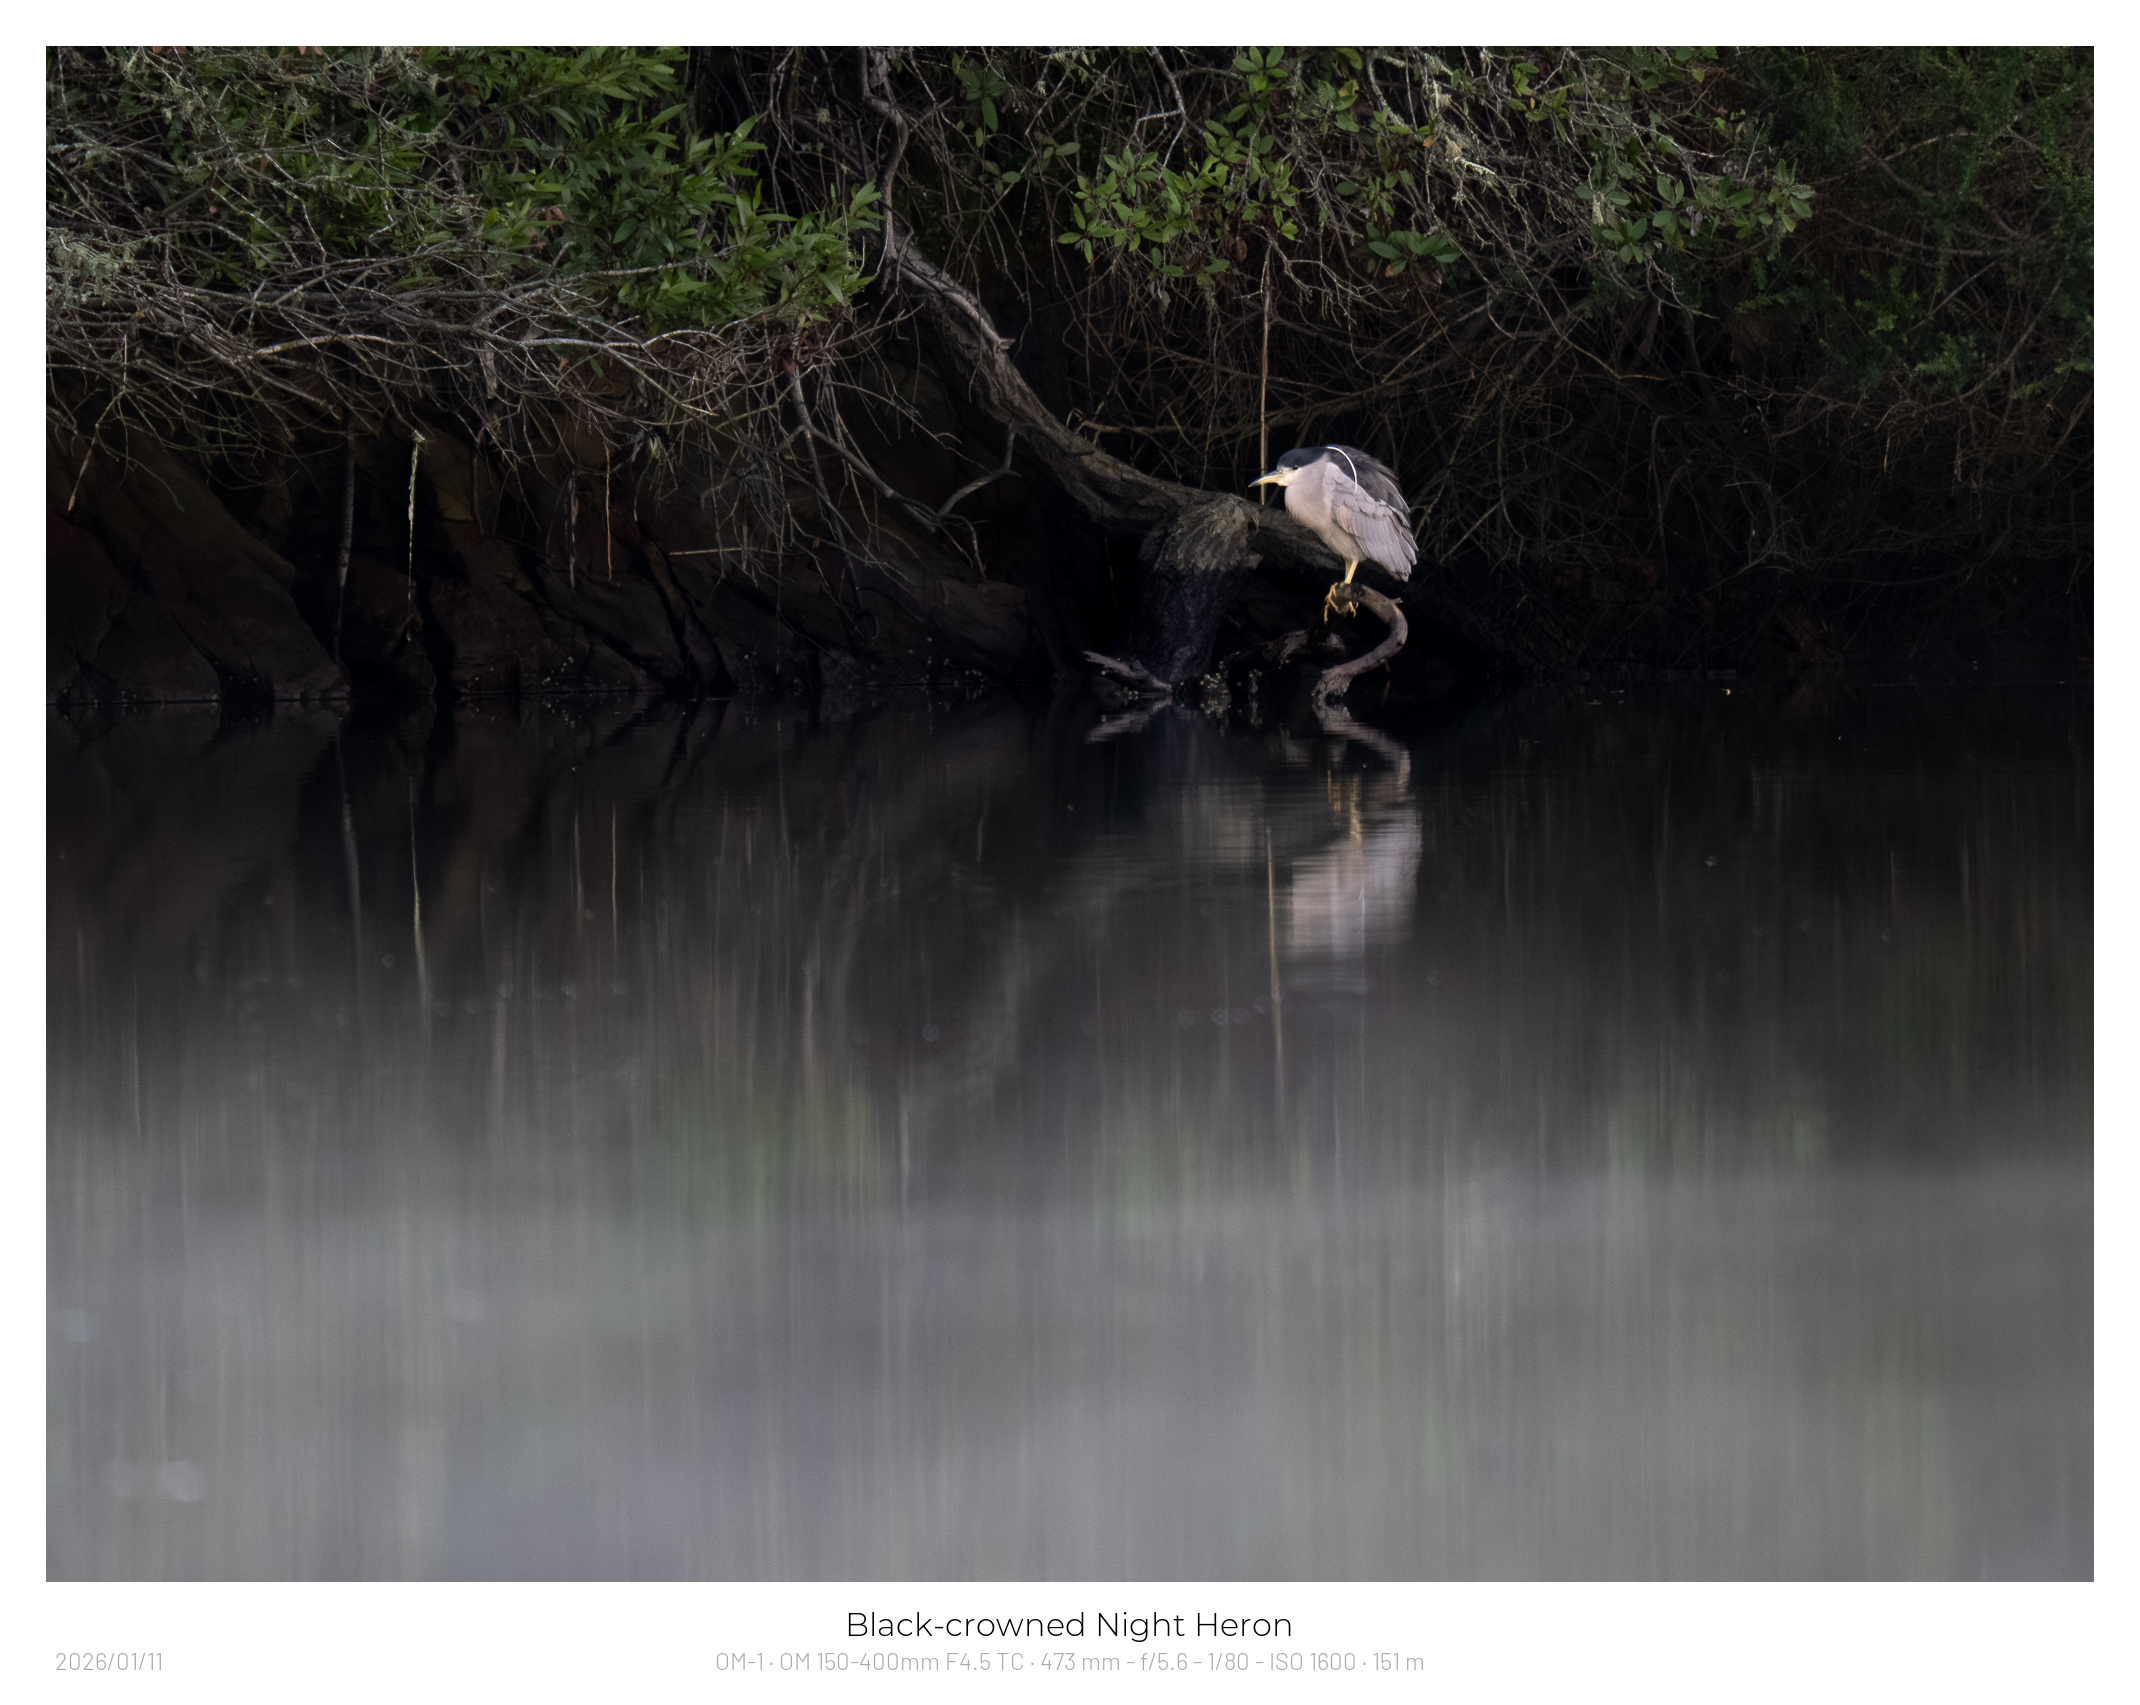
v1 - The original

v2 - Designed to blend in a little more to keep attentionmainly on the photo
This will work on Windows and Mac’s as long as you install the LRMorgify plugin correctly. It requires Imagemagik which is included in the Mac version, but needs extra steps for Windows. Just follow the instructions.
Requirements:
- Lightroom Classic - It needs plugin support so wont work on the cloud version
- LRMorgify - A small donation to register
- Barlow Font - Free font from Google
- Montserrat Font (light) - Font for v2 of template
- v1 of template
- v2 of template
Installation:
After installing LRMorgify and the Barlow font to your system, open up Lightroom classic
Select any picture and File -> Export
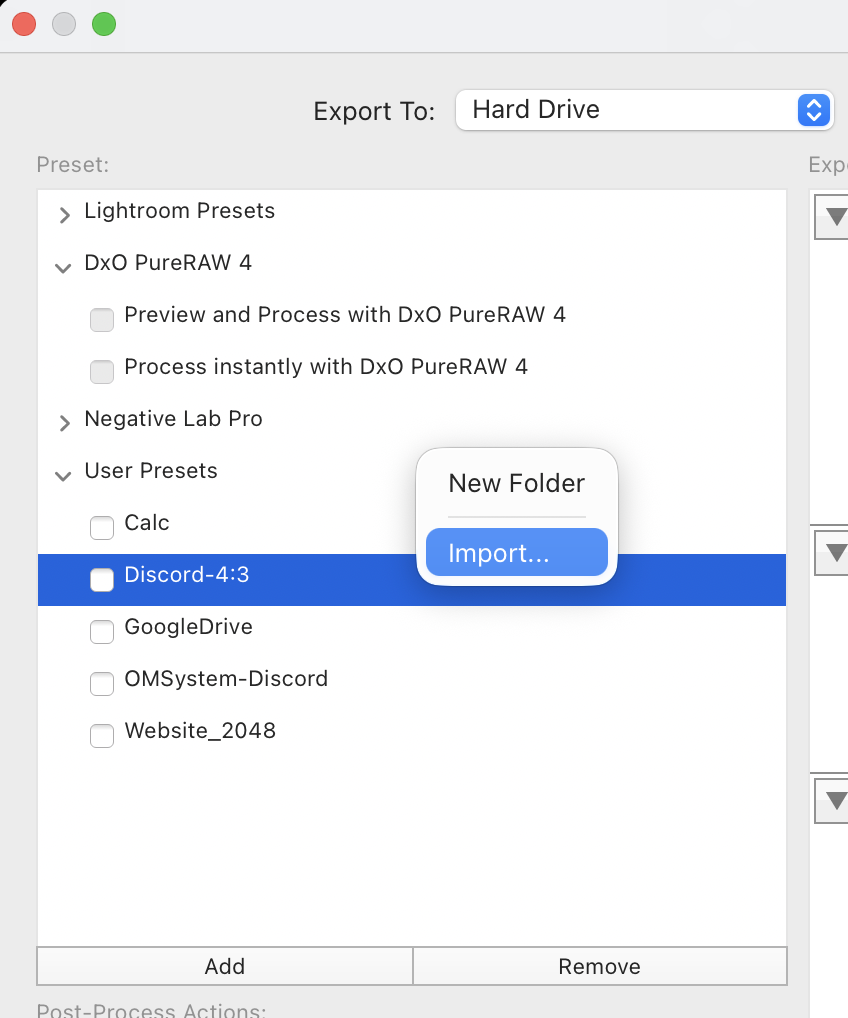
On the export window, right click on “User Presets” and select “Import”. Navigate to the template you downloaded above.
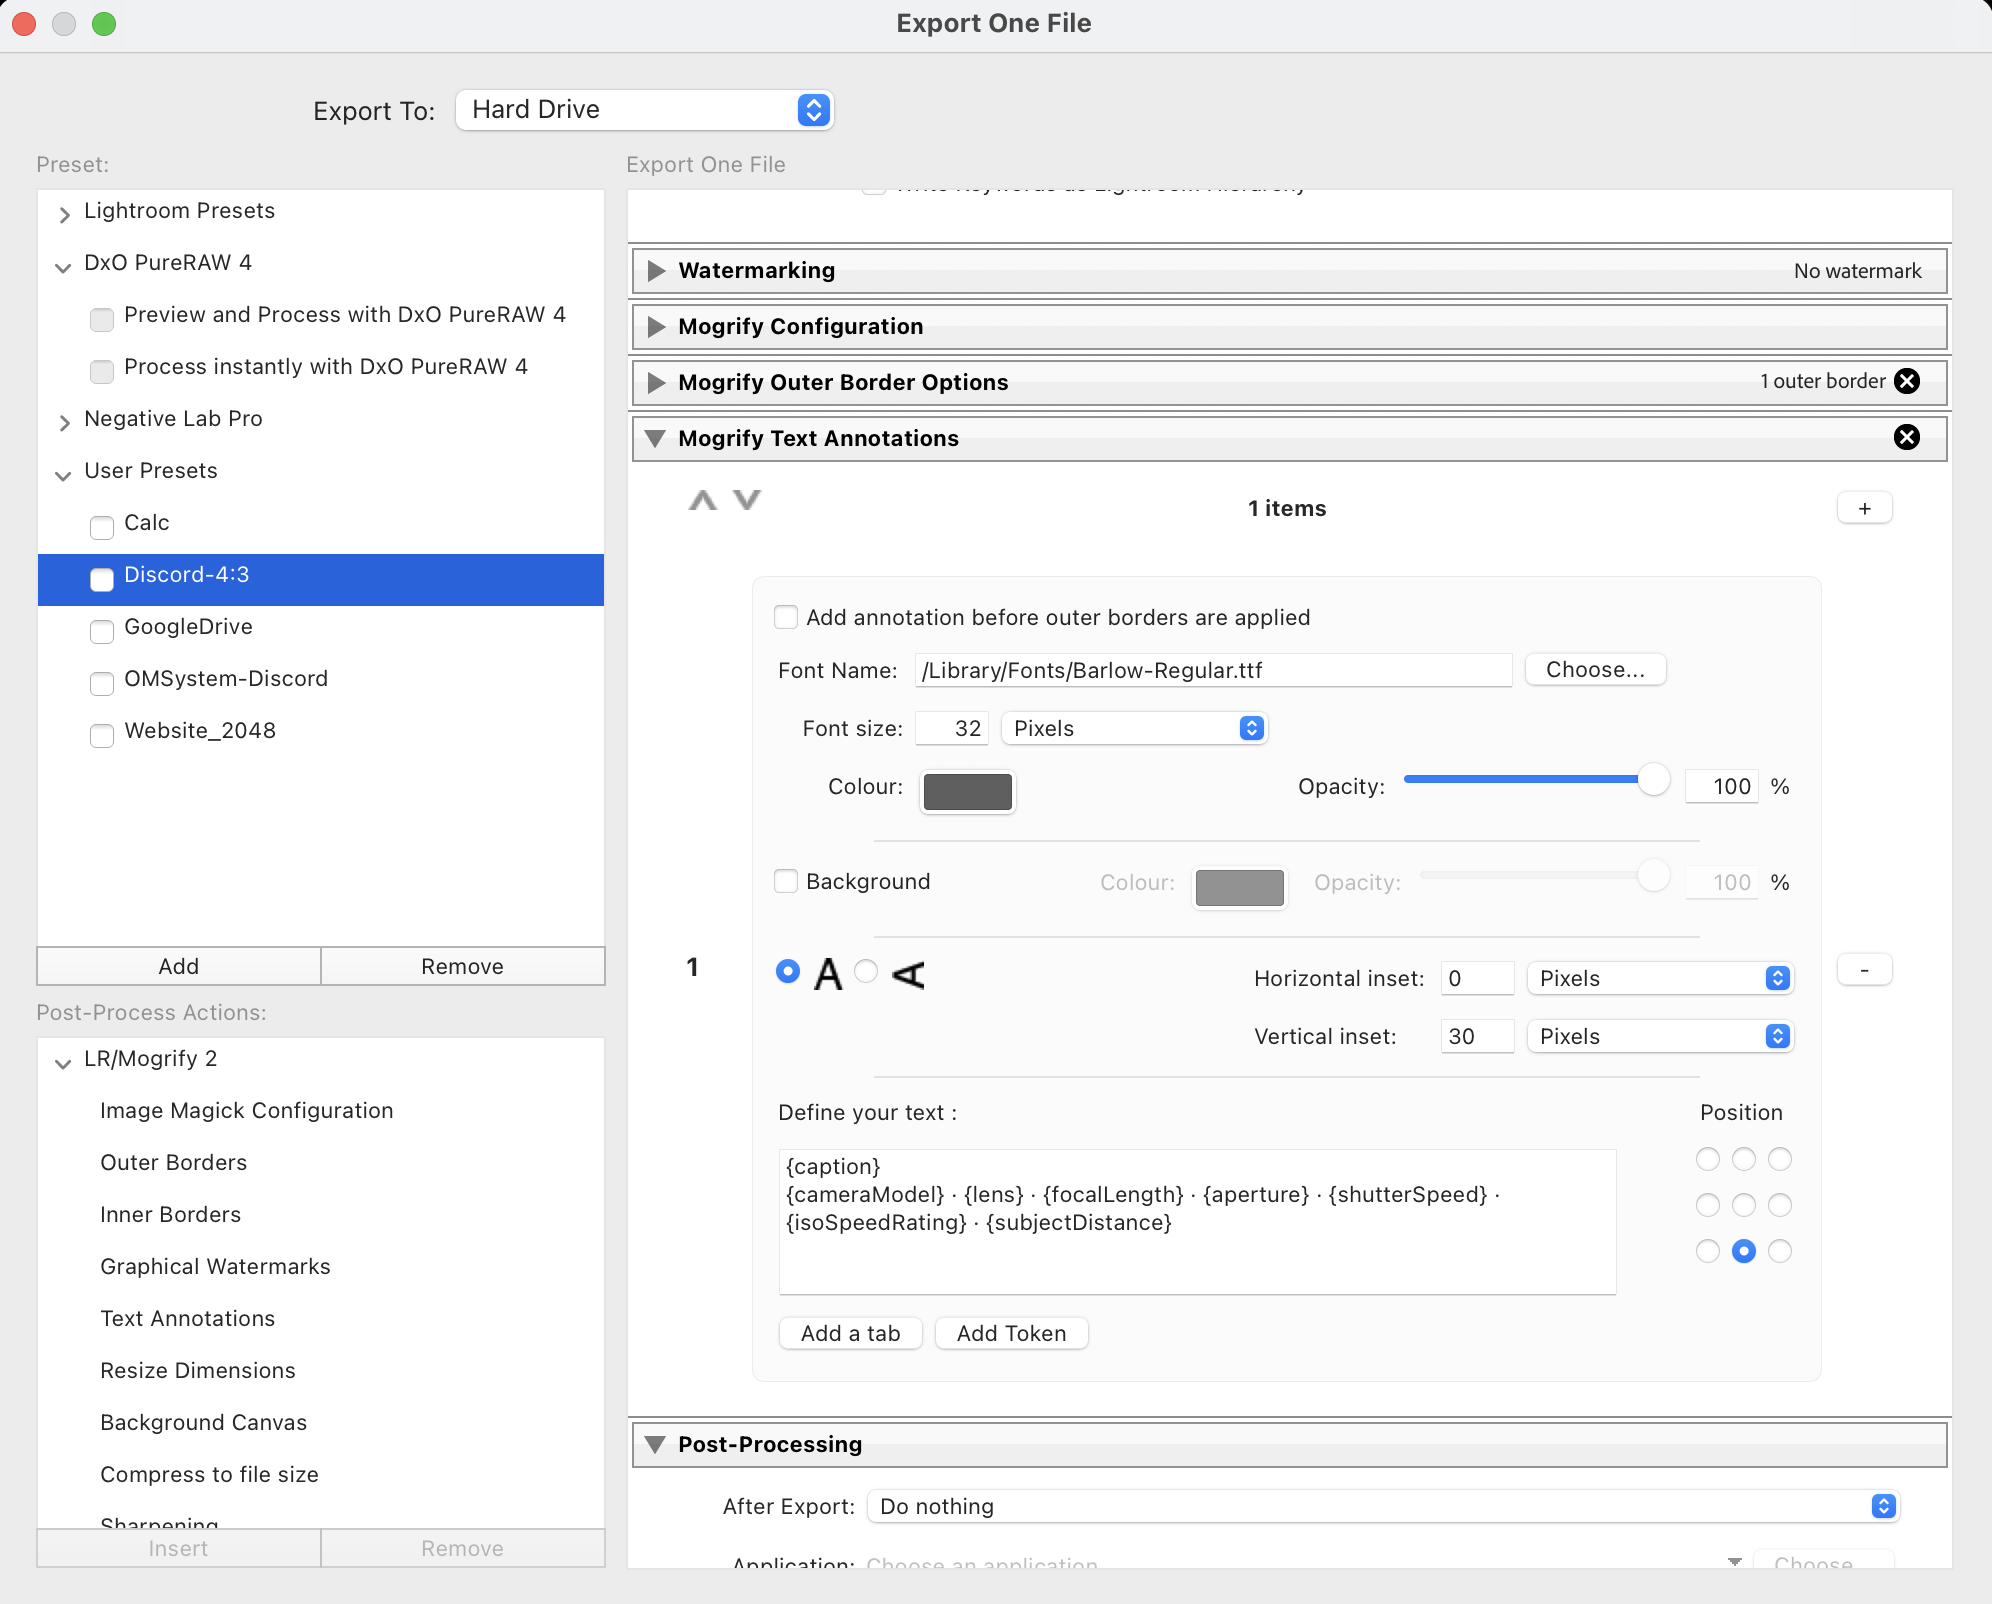
There maybe some settings you need to customize. I rename my exported photos to “caption-YYYYMMDD.jpg” . If you dont set a caption in EXIF this would not be ideal so change it.
I resize to 2048 pixels on the longest side
I also embed the subjectdistance in the border as I use it for my own references. You can simply remove this if its not needed by opening up the “Morgify Text Annotations” section. In here you can also play with the text offset. I like the 4:3 ratio and the offset if set for that. I have seen others use it with 2:3 ratio and it seems fine.
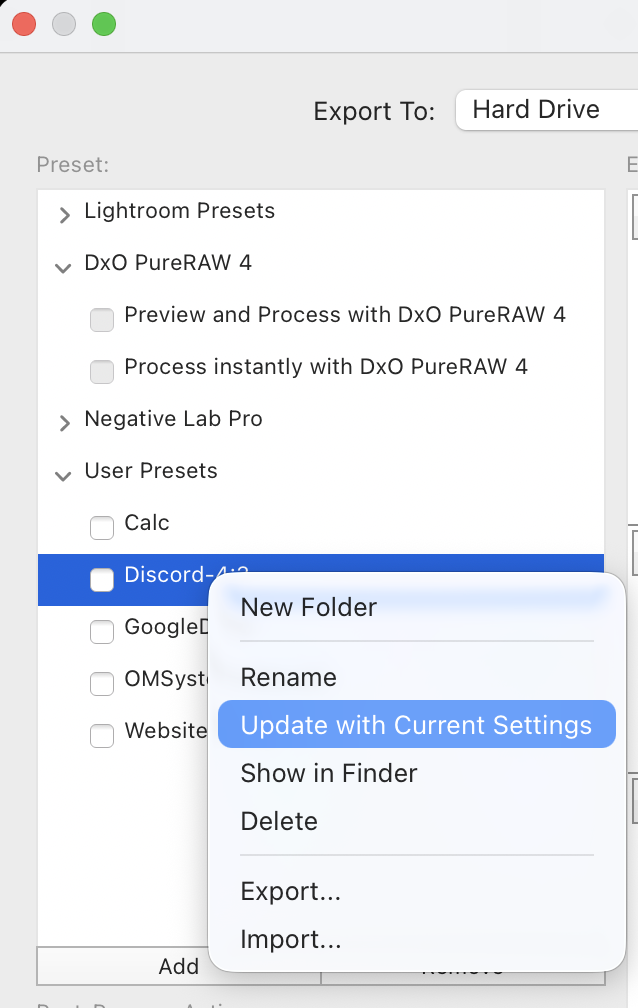
And don’t forget to update the preset with your changes by right clicking on the preset name and “Update with current settings”