Printing in Lightroom
Getting consistent, high-quality prints from Lightroom requires careful attention to color management, monitor calibration, and printer settings. Whether you’re printing on matte cotton paper or glossy baryta, the difference between a print that matches your screen and one that disappoints often comes down to proper ICC profile installation, accurate soft-proofing, and choosing the right rendering intent for your paper and image type. This guide walks through the complete printing workflow—from setting up your monitor and installing color profiles to configuring Lightroom’s print module and evaluating your results under proper lighting conditions.
Installing ICC profiles
I had to install profiles in multiple places for them to appear even after restarting lightroom.
/Library/ColorSync/Profiles/
/Library/ColorSync/Profiles/Profiles/
/Library/ColorSync/Profiles/Profiles/Recommended/
Monitor Settings
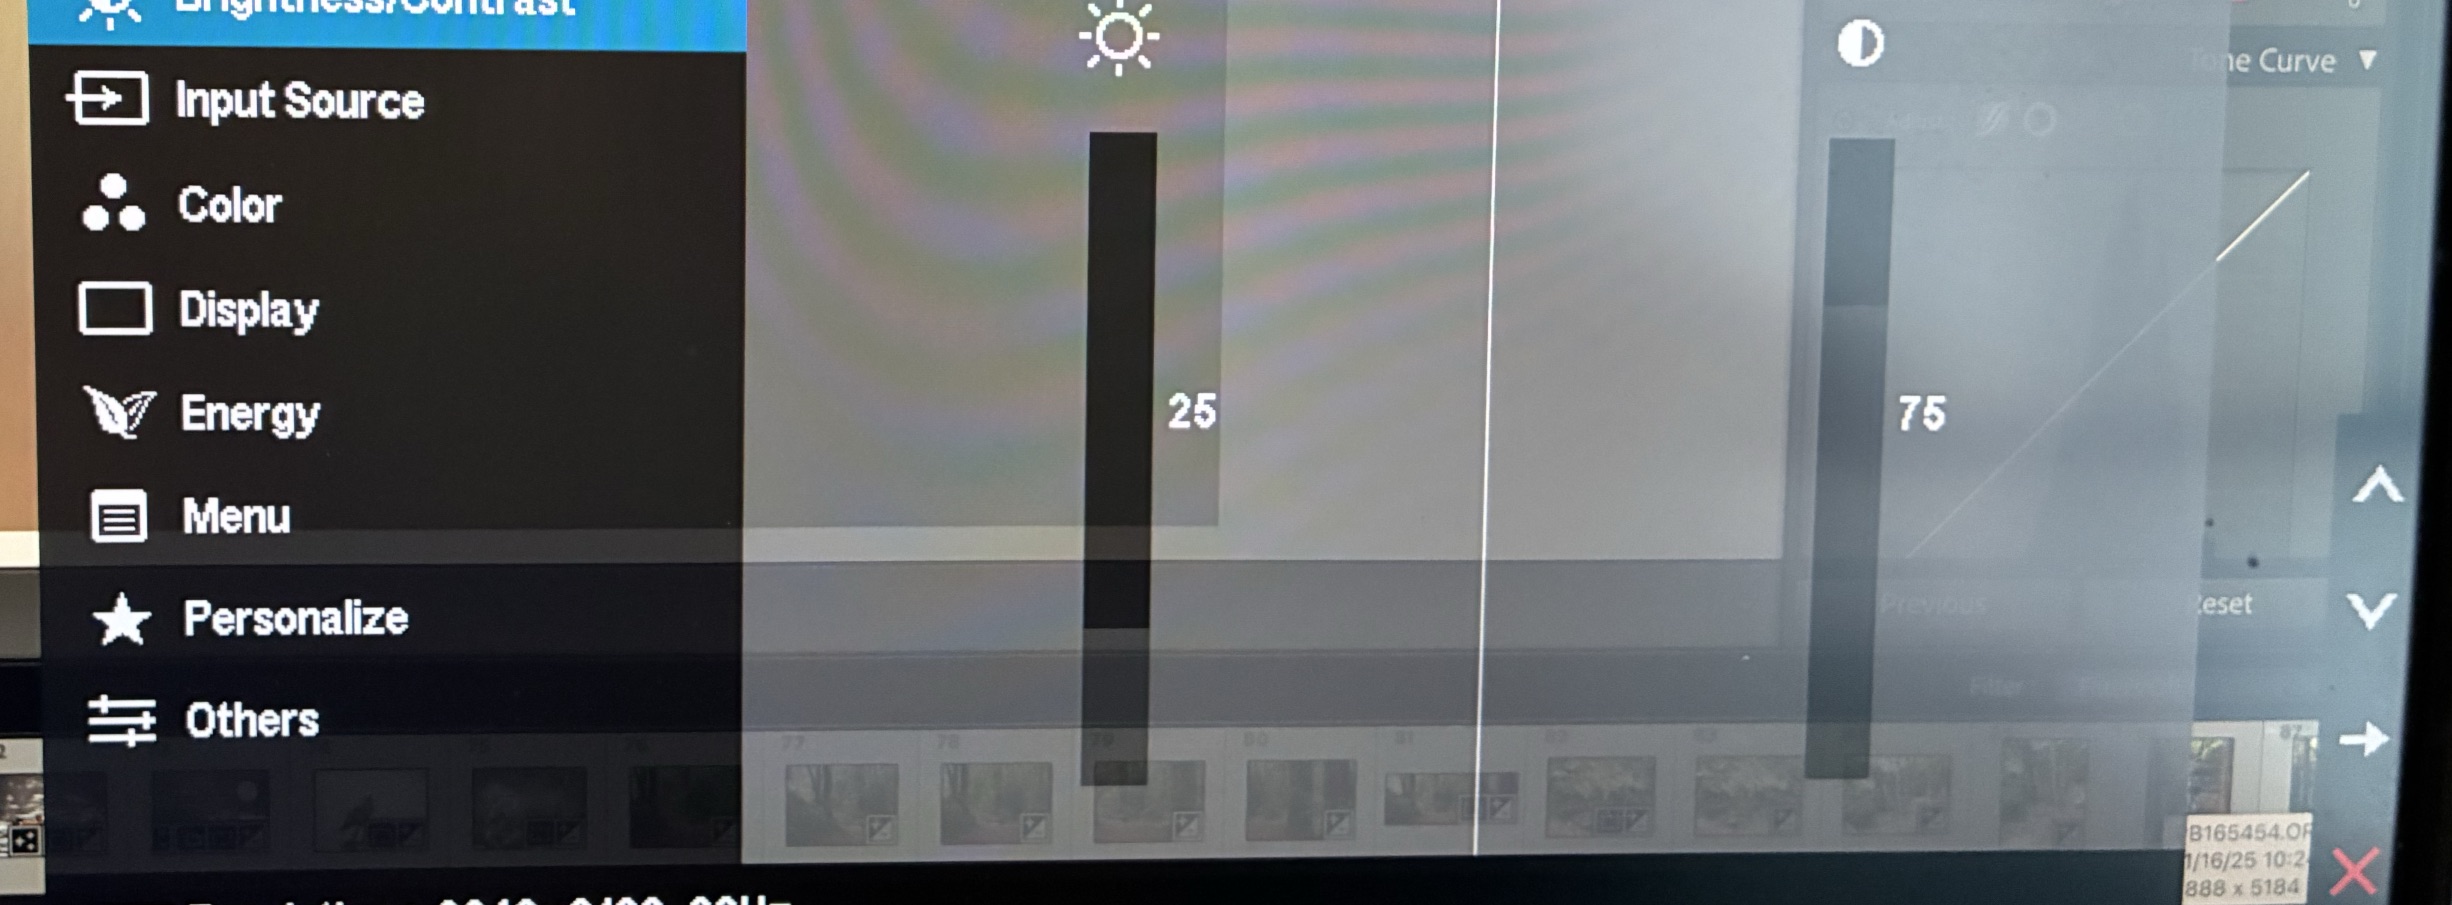
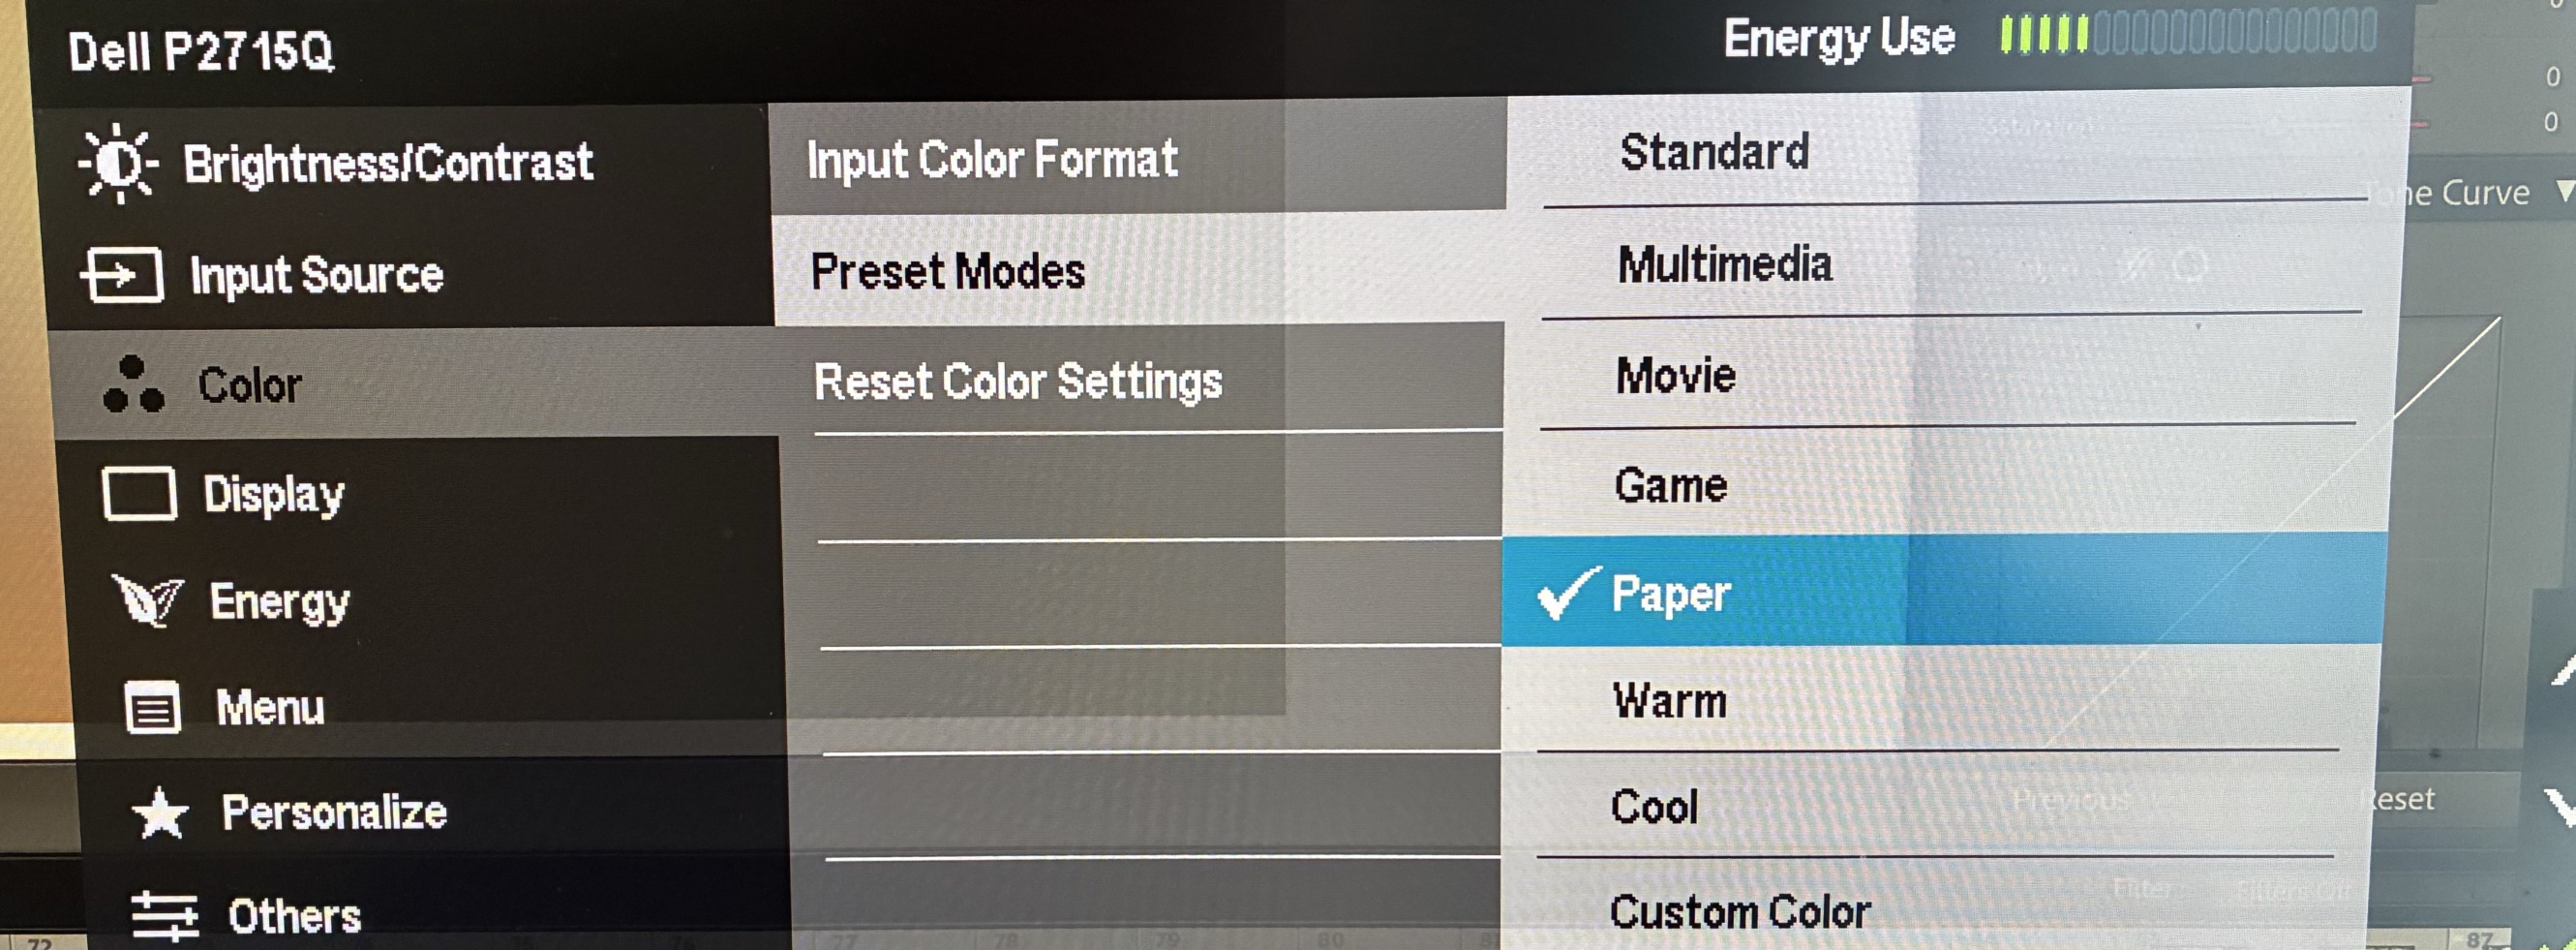
Ensure the brigthness of your monitor is on the low side. maybe 1/4 to 1/2 brightness. On my Dell monitor I also choose the “Paper” color profile
Softproof
Before printing, make sure you softproof you image in the develop module. This can be accessed via the “S” key
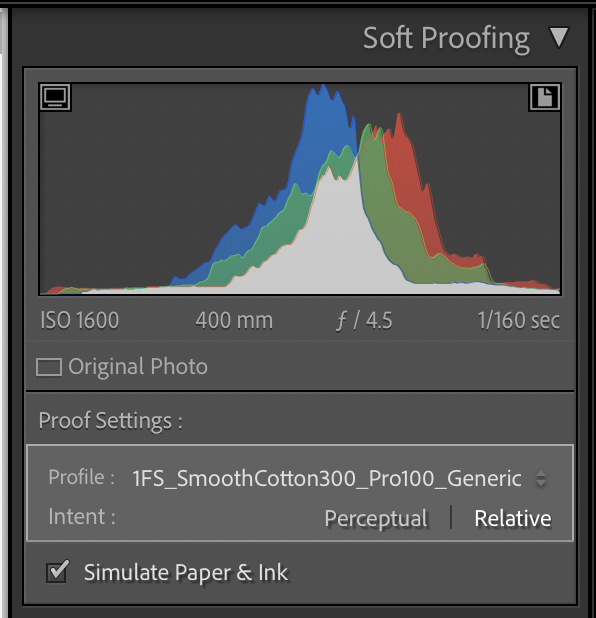
Ensure you pick the correct paper profile and make sure “Simulate Paper & Ink” is selected. You can adjust the image settings to suit what you want out of the print for that paper.
Photo Paper
Wayne Robertson uses Foto speed smooth cotton 300 . I’m still playing with this. It doesnt have a high dmax. It might be good to the right photo. and for B&W or more vibrant color images Fotospeed Platinum Baryta 300
| Paper | ICC Profile | Paper Settings |
|---|---|---|
| Fotospeed Smooth Cotton 300 | 1FS_SmoothCotton300 | Matte Photo Paper |
| ARCHES 88 310 g/m² | cifa_pixmapro100_arches88 | Other Fine Art Paper 1 |
| Edition Etching Rag 310 g/m² | cifa_pixmapro100_edition310 | Other Fine Art Paper 1 |
| MOAB Juniper Bayrta | MOAB Juniper Bayrta Rag | Photo Paper Pro Platinum (PPPP) |
Page Setup
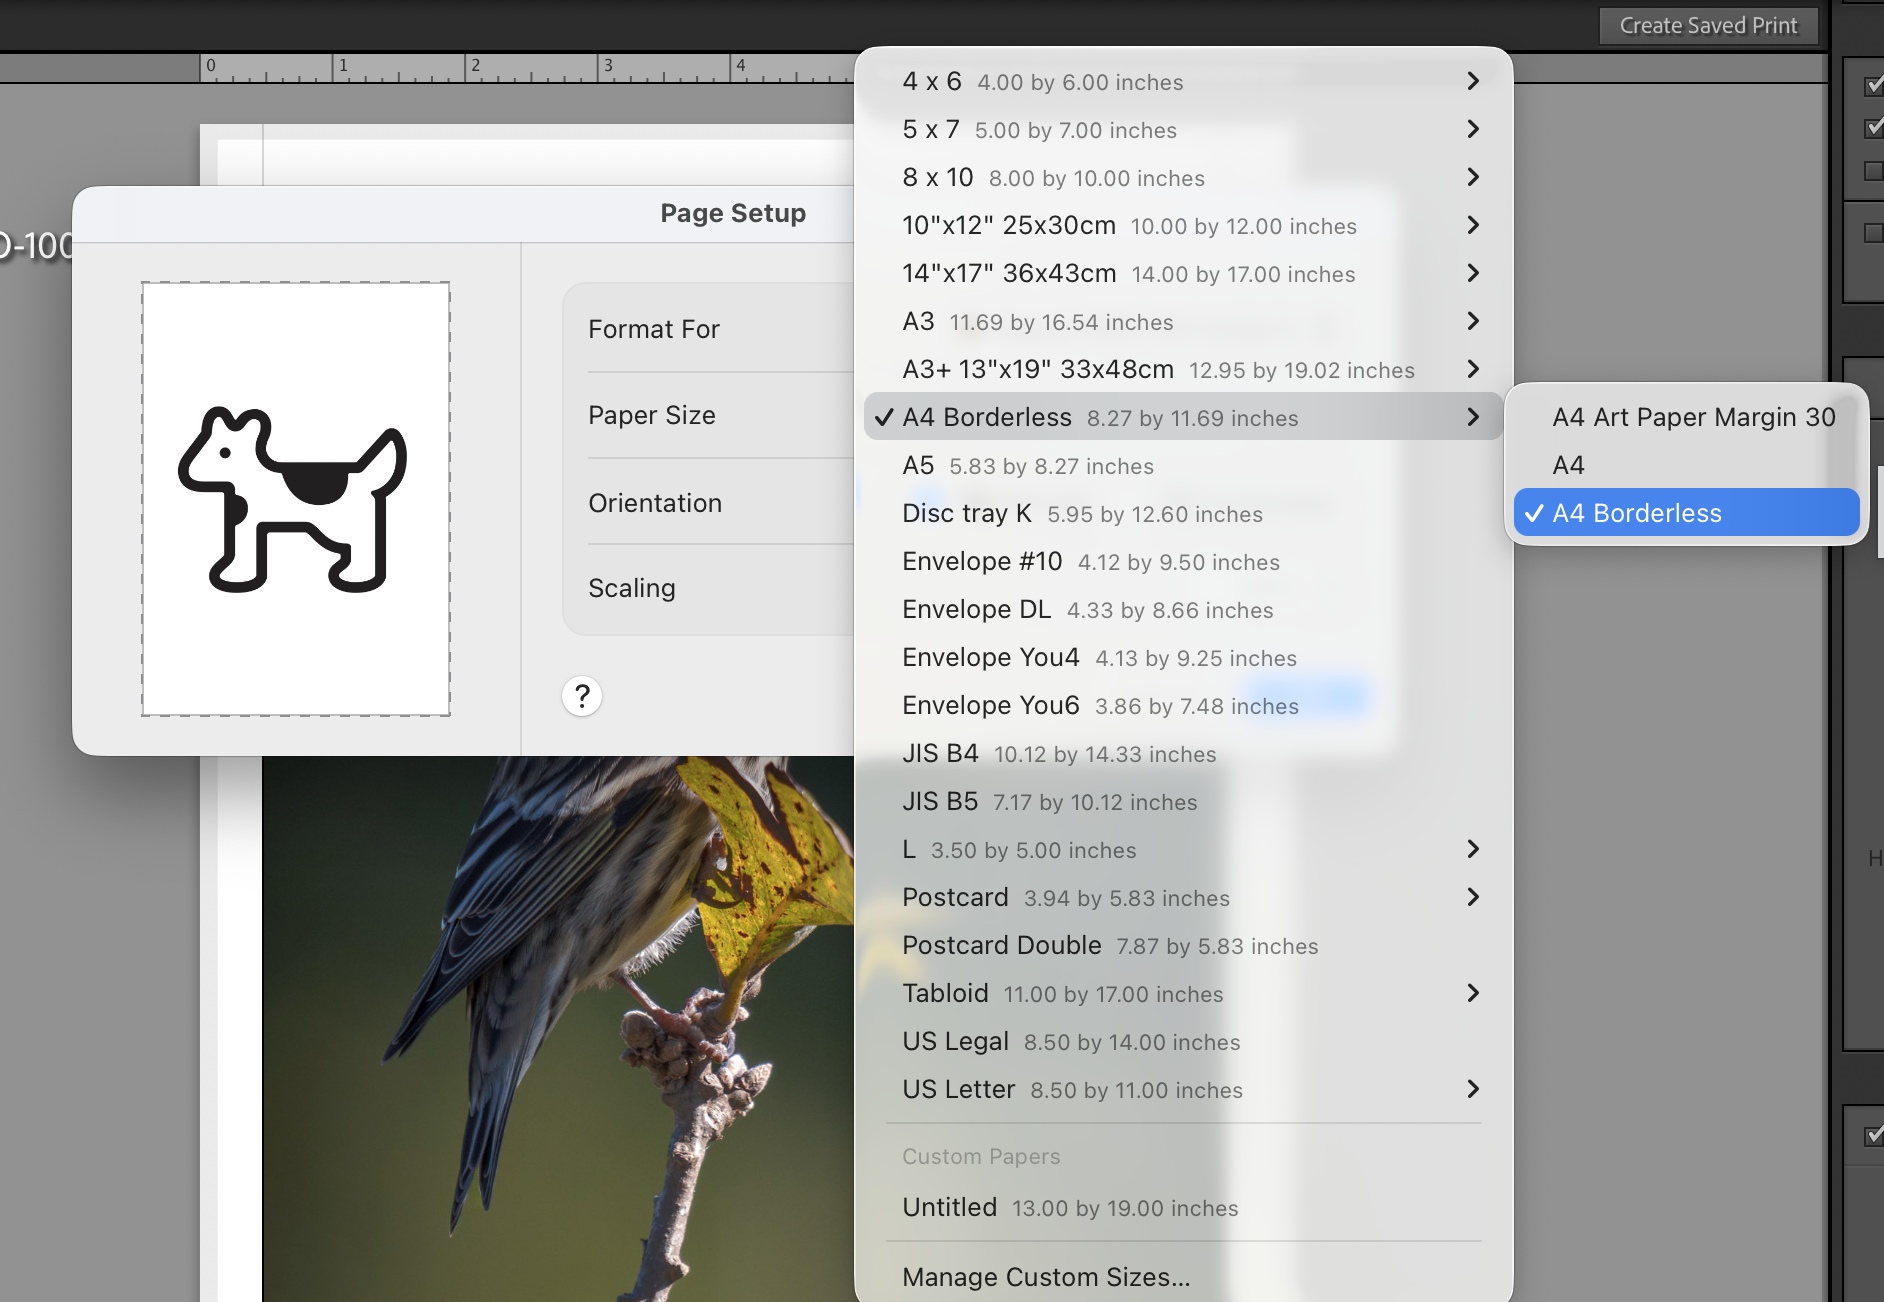
Pick a borderless paper, even if you are printing borders. You add the borders in the margins etc. Borderless gives accurate measurements for this
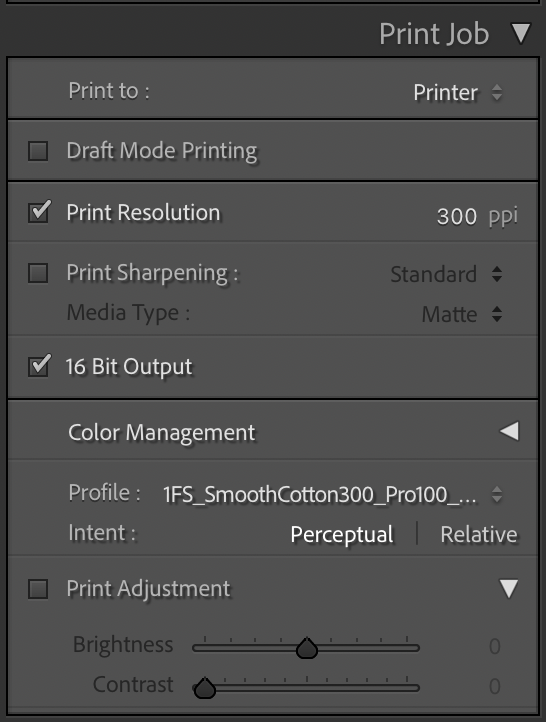
Print Job Panel
Print resolution at 300 ppi 16 Bit output and select the correct paper profile On Matte paper use Perceptual intent. This can be verified in the softproof too. For color prints, try Relative intent For B&W prints try Perceptual intent Select the correct ICC profile for the paper
Printer Setup
Printing with Fotospeed matte papers, select the Matte Photo Paper
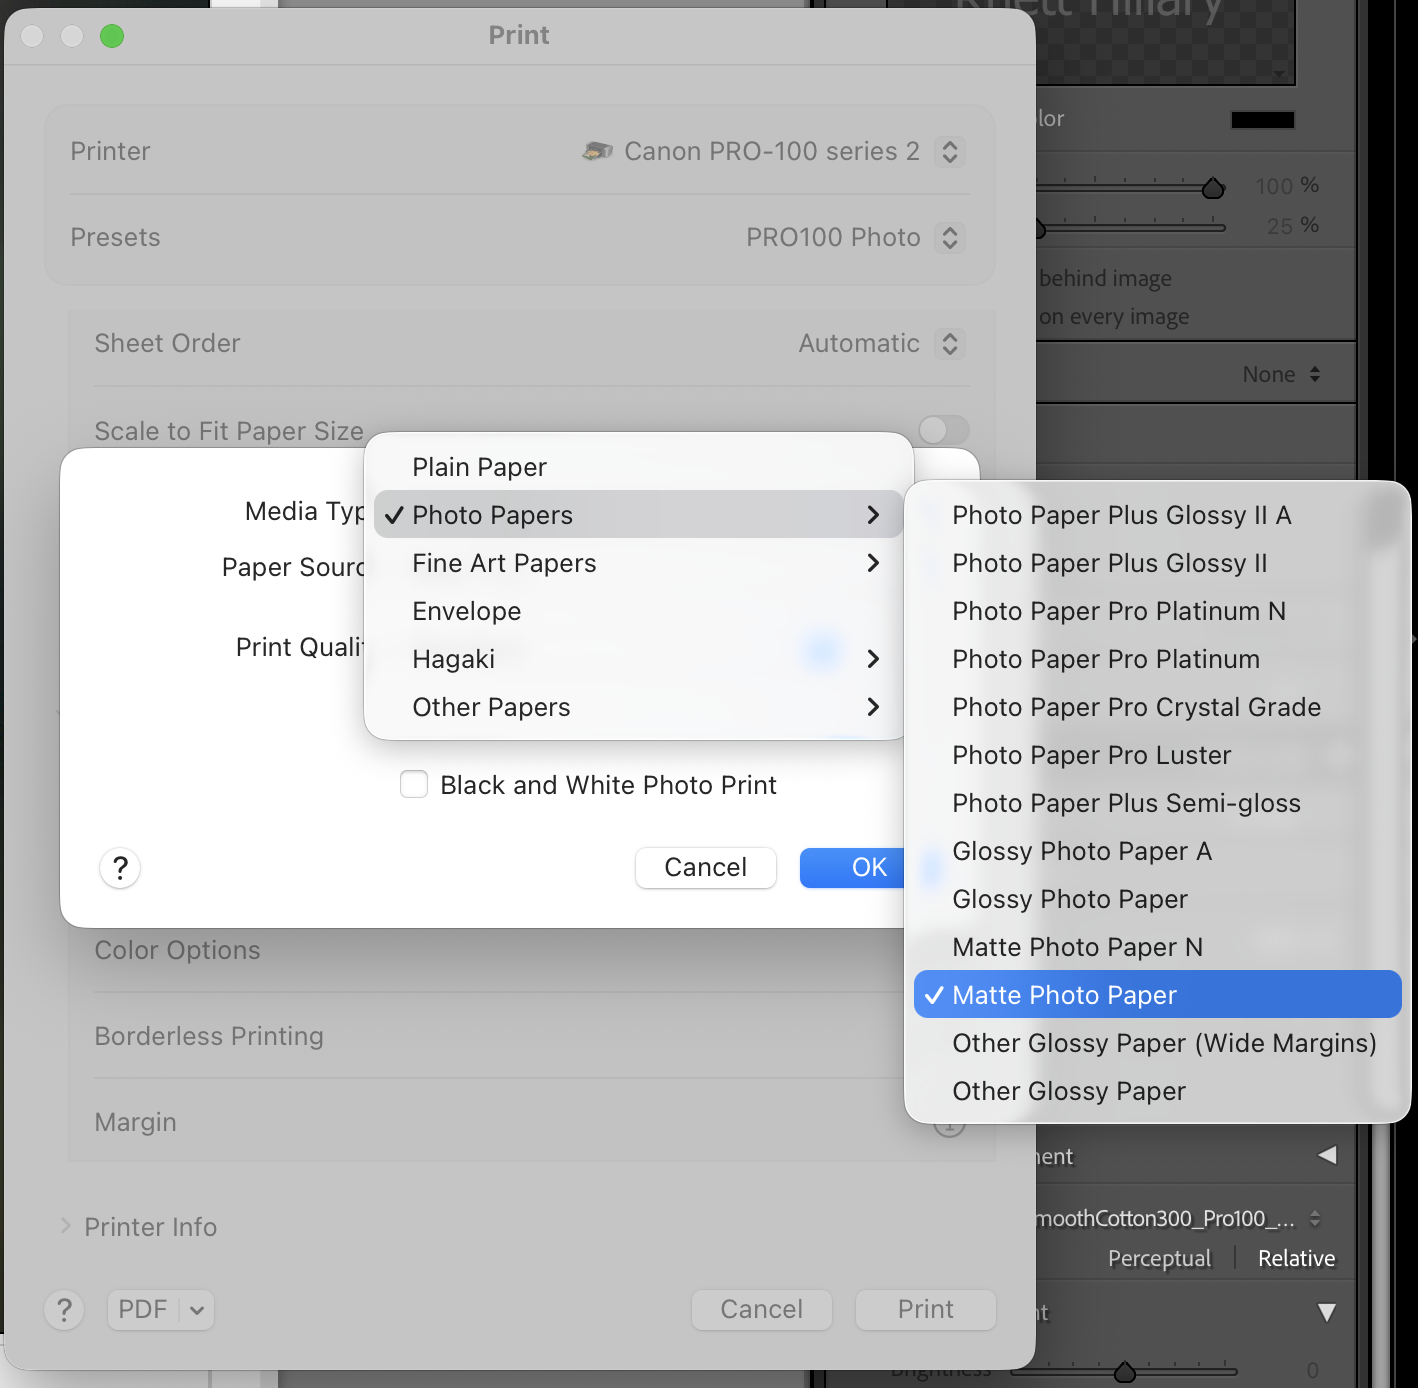
For other papers like the Baytra look up the table in Photo Paper
After doing this.. Press print.
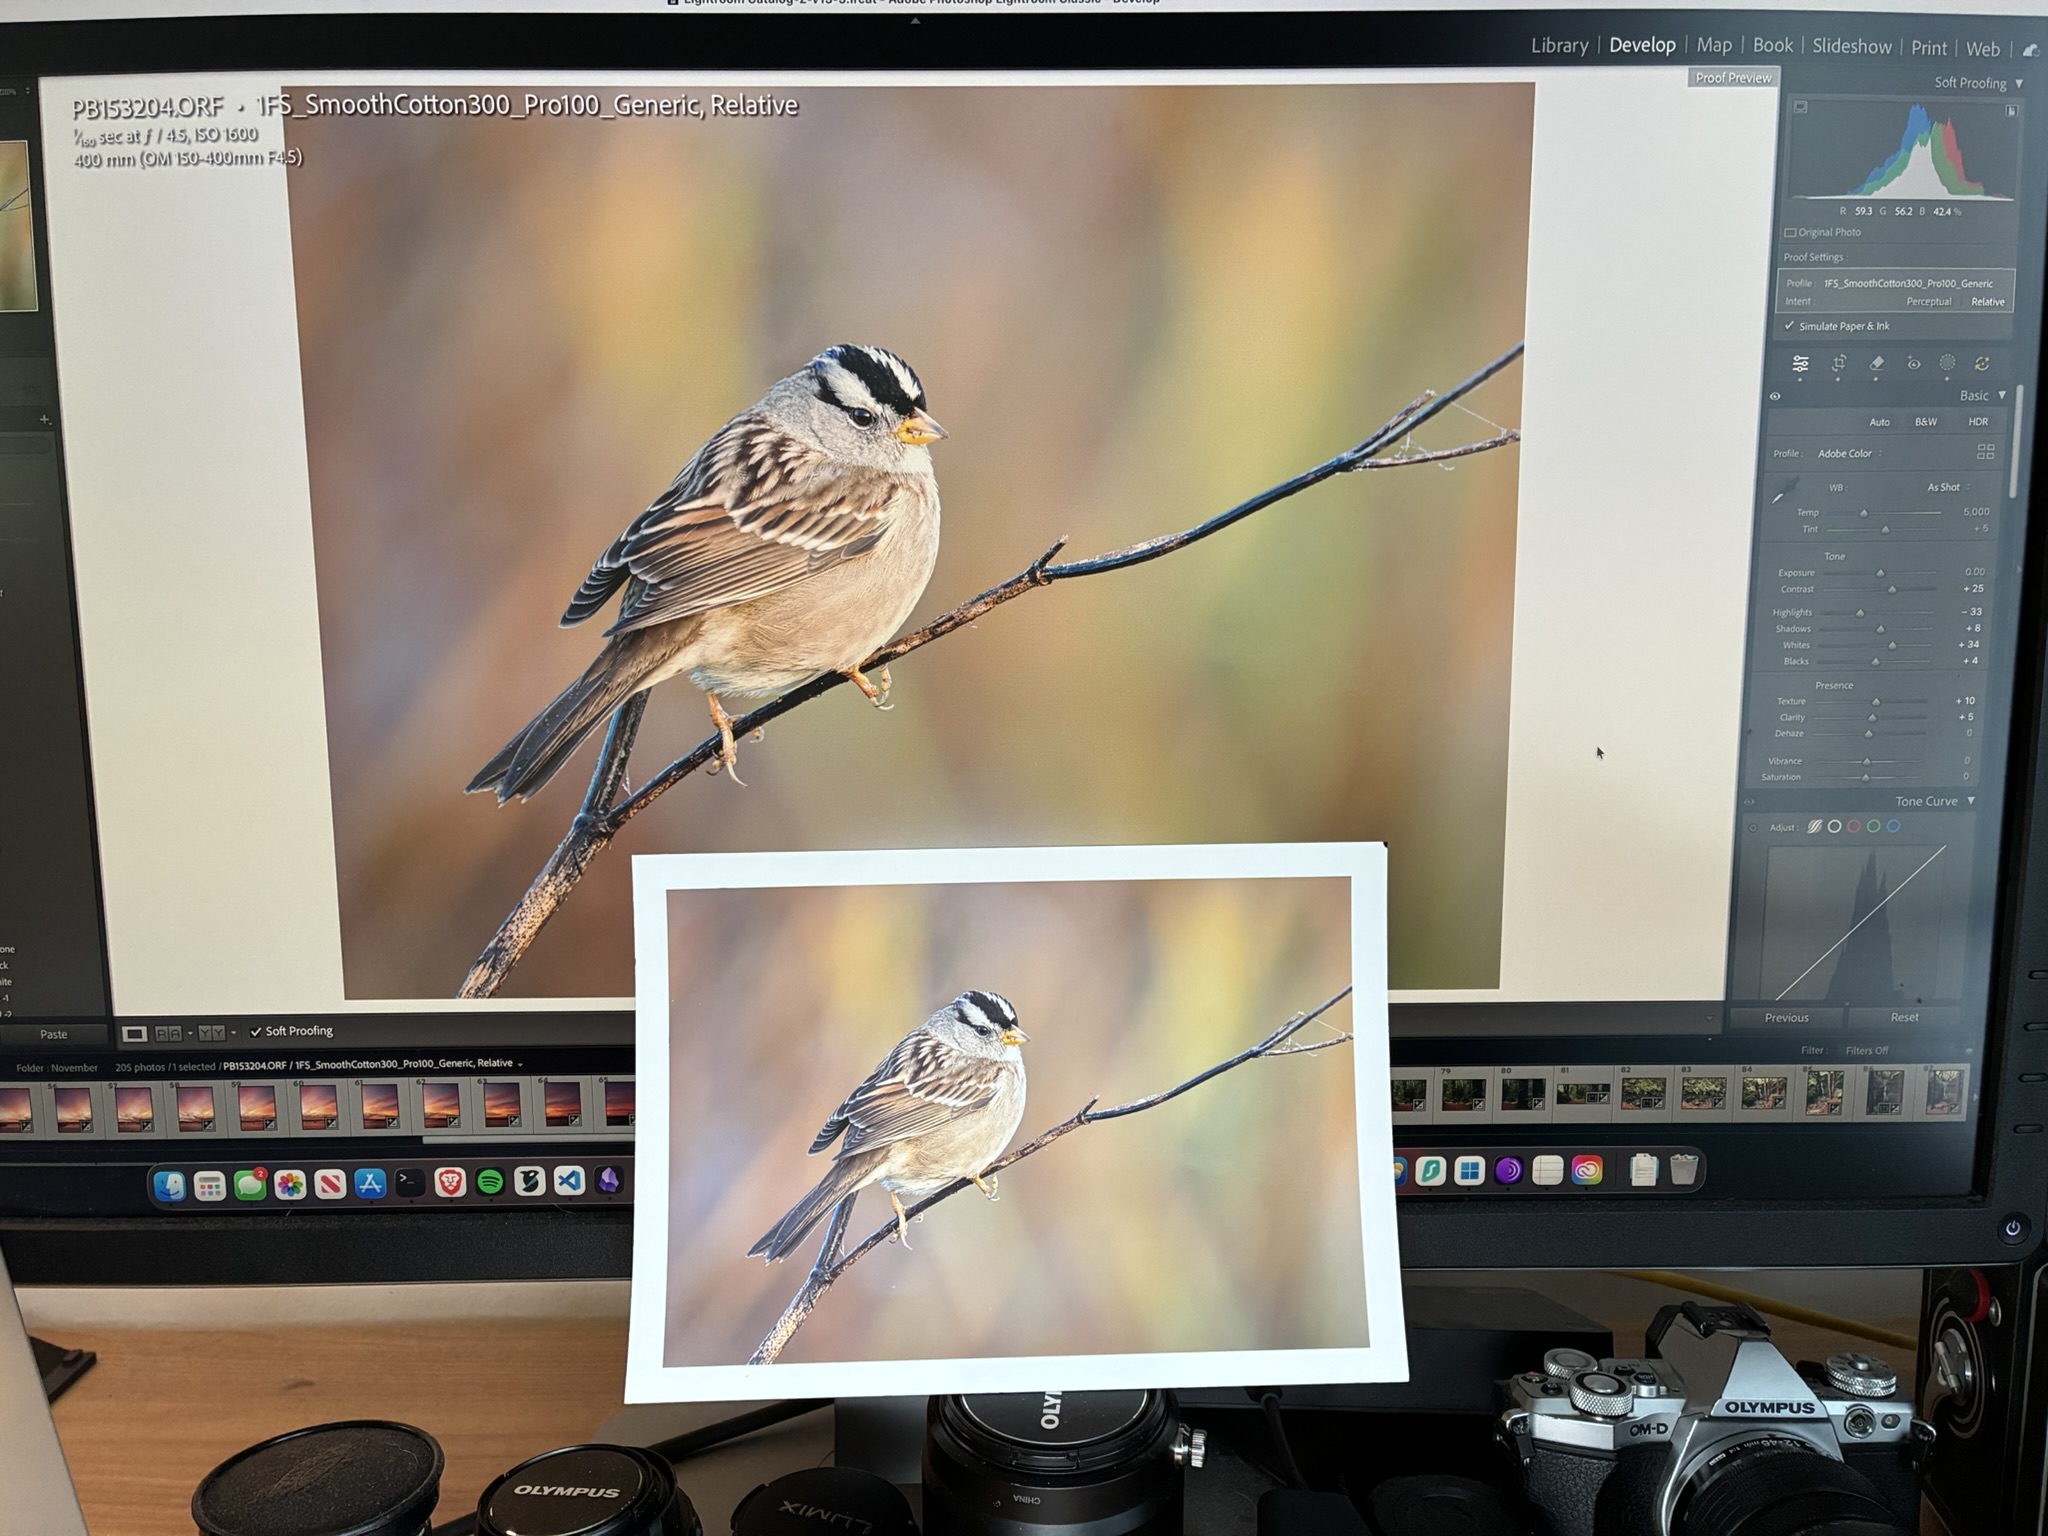
Comparing Prints
When comparing your print to the screen. Make sure you are in diffused natural light. Like near a window. If you are under artifical lights, make sure they are “Daylight” temperature. Below I use a small light panel set to 5600k and spilled some light on the print, as my window light was not strong enough.
References:
How to PRINT your PHOTOS (the simple method) - The best all round video for printing from Lightroom I have found.
Learn HOW TO use the PRINT MODULES in LIGHTROOM // Fotospeed Tutorial
Exploring Printing and Rendering Intent - Fotospeed | Paper for Fine Art & Photography Fotospeed Paper settings